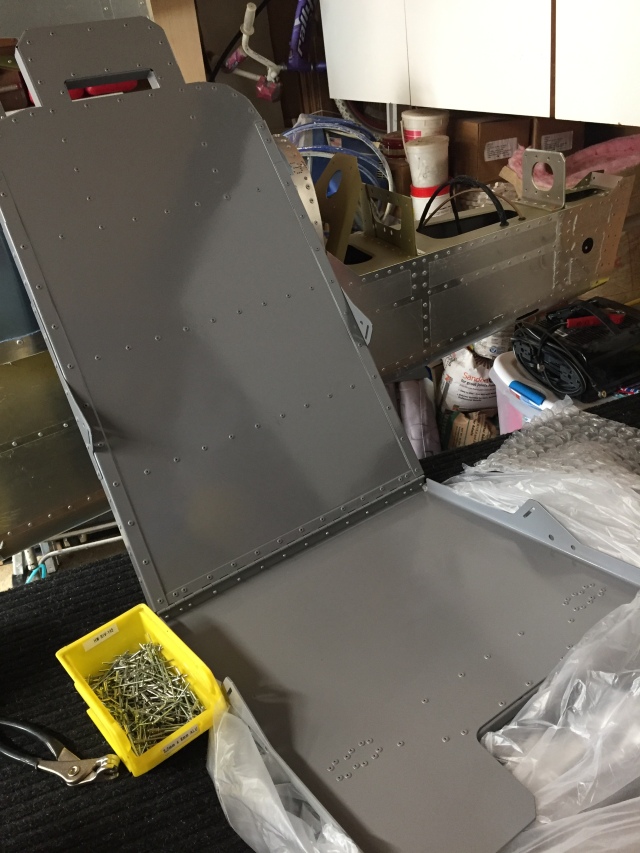
I’ve been trying to organize the wiring for the project. I had previously created an Excel Spreadsheet (Well I actually use Apple Numbers) which I uploaded in the Links section of this site, but I didn’t have a way to detail individual cable runs inside a multicore cable (like an M27500 cable). Also I really didn’t have any way to identify connectors and the pins that the wires come up on. I’ve added these things to the spreadsheet, but it’s a pretty manual process to build the sheet with the connector pinouts. I have to copy and paste for the main spreadsheet to the connector pins one. Maybe if I used Excel there would be an automatic way to do it. I had found a really nice piece of software called RapidHarness which lets you pit together wire harnesses and is fairly detailed in how you can show the cables and connectors. They offer a free version which only allows for 30 connections. If you want to go beyond that (I think to 500) it costs $200/month. So well that’s just a bit too pricy for me so I guess my spreadsheet will have to do. I’ll upload a copy when I have it all updated, but here’s a few screen shots of what I’ve been trying to do.

This is the main wire run list. I added the Connector A and Connector B column as well as the wire color image… well it’s not really an image it’s a background gradient for the multi-color wires and just a background color for the solid color cables. I was trying to find a way to set this field automatically based on the “color” cell, but can’t quite seem to figure that out. Maybe if I use an actual image I could use a calculation field to set it… HMMM

I Added another table with the list of connectors and some info about them. I was thinking that maybe I should call the ones that have a named mating connector the same as that connector. So instead of calling the connector C1 call it something like C111-1 in case you have more then one. I will probably want to label the physical connector in the airplane with this label so that it’s more easily identified in the future. Like if changes are needed to be made to the connector I can look in the spreadsheet and see how it’s wired.
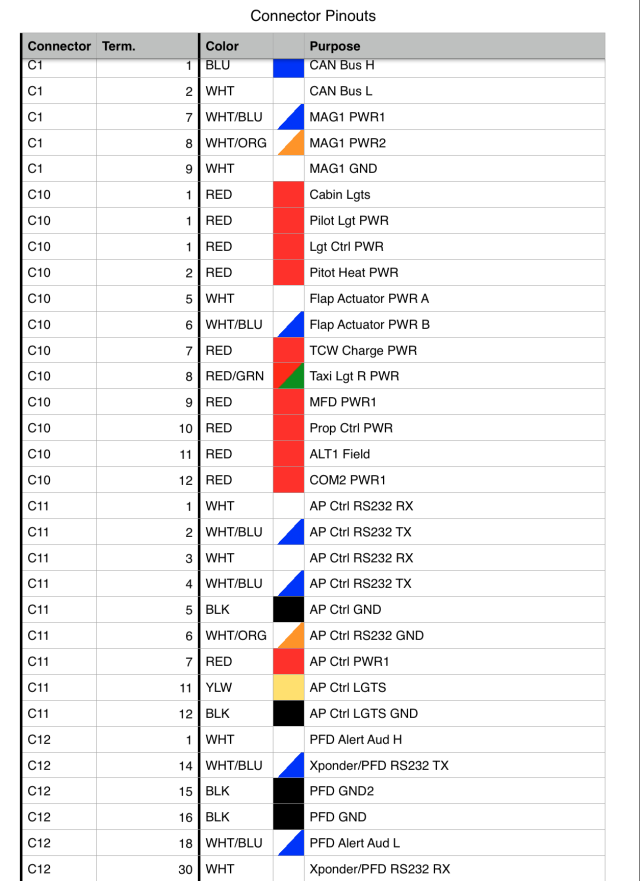
This is the new sheet that basically takes the Connector A/Term A columns and Connector B/Term B column and combines them into one table. This needs to be done because sometimes a connector may be referenced under Connector A or ConnectorB and we want to know all the occurrences of it so we have all the wires/pins that are in the connector. Build this table is manual so if anything changes in the main wire list then I have to rebuild it…. which sucks. I do like the wire color icon column… it makes it look pretty cool and is actually really useful in finding stuff.